Wednesday, 28 November 2012

Clean and Simple class

Last week I had a clean and simple style class at In2crafting, these cards are great for mass production...ideal for this time of year!!

First one uses the new Tim Holtz Snowflake die, Mini Snowflake Rosette, if you have seen his concertina flower die its the same sort of thing but with a snowflake style. The background is just a simple snowflake background from Paula Pascual, stamped in silver ink. The sentiment is from the Woodware Hearfelt Christmas Wishes set. I used silver elastic to hang the snowflakes.


The next card uses the Tree and sentiment stamp from the Teresa Collins Christmas Cottage stamp set and the cardstock is from the same collection. I used a glitter glue to just go along the top lines of each row...amazing what a difference that makes...its better in real life than in the photo. Ribbon is from May Arts.


Then lastly, an easy snowflake card using the Paula Pascal Christmas Frame set and this time I used a different colour combo. Adirondak Pebble and Slate, together with some Silver Pigment ink for some of the small snowflakes. The card base was on Kraft cardstock. I added some Distress Stickles in Antique Linen to the centres.

 
Back soon with my next class using Stampendous stamps.


Monday, 26 November 2012

I am dreaming of a white christmas

I am so behind with blogging, but I am now on top of classes etc so have no excuse's to not get back upto date over the next few days!! Today's post is from a class I did the other week at In2crafting making white on white cards.

First one uses the beautiful snowflake on the edge die from Tim Holtz. I love this Kirsty Wiseman tree stamp and the sentiment comes with it. For a subtle look I stamped the sentiment on vellum and wrapped it around the image. Its layered onto some glitter card and the on the edge die has been cut with double sided adheshive sheet and then coated with the new Tim Holtz glitter. I am loving the look of this glitter....stunning no colours just as pure snow !


The next one uses a Memory Box Frostyville border die and the stamps are from the Crafty Impressions Bauble sentiments stamp...very simply the baubles are stamped and hung with silver elastic. The sentiments on this set are great, they include relation names that can be incorporated in different holiday greetings.


Finally, a Marianne Poinsettia die and Memory Box Catalina Wreath, simply cut out in white and some yellow pearls. I used a circle Nestabilitie for the centre and the sentiment stamp is from a beautiful set from Woodware called Heartfelt Christmas Wish set.

 
back soon


Tuesday, 16 October 2012

Spellbinding Christmas


Last saturday I had a class making Christmas cards with Spellbinders dies. As usual a fast paced class but most of the girls got nearly all their cards done, just a few finishing touches to do at home.

First up was the Layered Poinsttia card

 
This card used the Layered Poinsettia set, labels 25 and Floral Doily accent border die. I love the technique of embossing the cardstock after cutting and then whilst still in the die taking a white ink on a piece of sponge or dauber and rub the ink over the holes in the die to create the veins. Just always remember to wipe the dies clean with a baby wipe before you die cut something else. Best to do all your cutting and embossing first and then to the inking.
 
Next up my favourite new technique with Creative Exprssions micro beads, I am going to do a tutorial on this sometime this week. What I wanted to achieve with this card is the look of lots of layers but its actually flat.  I did add pearl dots around the edge but you could use a ruler to prick holes around the outisde edge to create faux stitching and then add a white gel pen for the thread. I did dashes inbetween the pearl dots. The little Poinsettia is from the same set as the above card and a bow of string from the Docrafts promo.
 
 
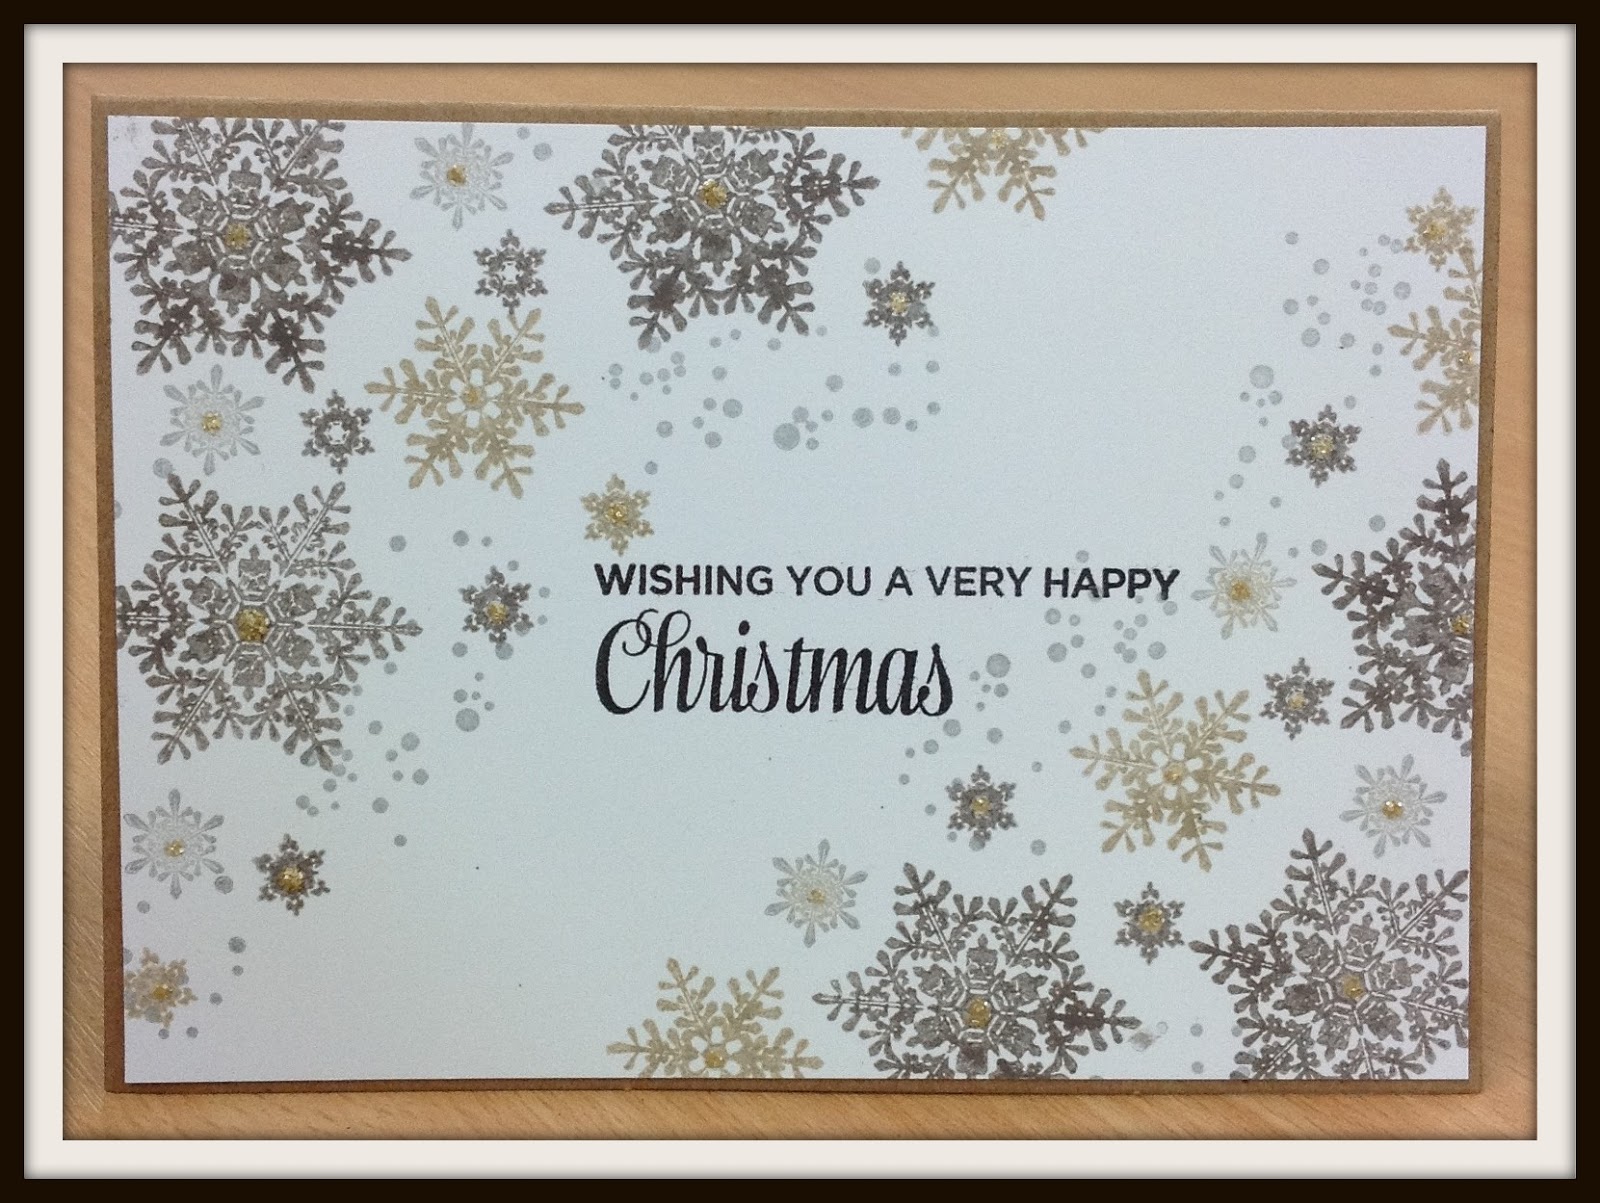
Lastly, a newish die called Card Creator { thanks mag for the lend!!} Love this die set, it cuts the ribbon slots at the bottom. I cut a circle out of the side and embossed another circle with a snowflake stamp. All the stamping on this card was done with Versamark ink and white embossing powder. I sanded the cardstock after I had embossed. The ribbon is cream seam binding.


All the cardstock used in this class was from the Teresa Collins Christmas Cottage range and the coordinating stamps. All available from the shop.


Sunday, 14 October 2012

Home for Christmas

Docrafts had a lovely collection called Home for Christmas in this current promotion and I made these cards for a class which unfortunately did not happen.


closer look....acetate DL card


Bauble card.....these are cut from the 12" paper but there are stamps in this image. Panel at bottom is from the large text stamp in the range


Finally, a tag card and a circle cut out of some of the material thats comes in a 12" square sheet


Products used:

All the stamps, papers, string and material are from the Home for Christmas range

I also used:
Distress ink Brick Red
White Embossing powder and Versamark
Sentiments are from Paula Pascal set from Personal Impressions
Memento London Fog ink
Acetate
Cricut cartridge Storybook for the "noel"
Spellbinders circle dies
Red and Kraft cardstock
gems/silver brads


Friday, 14 September 2012

Friends birthday card

I was going through my memory card today and came across a card I forgot to post on my blog. Its a friends birthday just before mine and I had some left over cardstock from a kit and a stamp set I had to buy at Stamperama, not used yet. Not that I dont have other stamps with alliums on...but they are all slightly different and thats all that matters...lol!!


Stamps are from Kanban
Cardstock is from Carta Bella Beautiful Moments collection
Flowers are Tim Holtz Flower Garland die
Sentiment is Paula Pascal and circle punches
Ink is Memory Sepia
 
Have a great weekend


Monday, 3 September 2012

Wedding pictures

I never got around to posting pictures of my sons wedding and the invites I made. So espically for you Kerry, here are few...


The happy couple


The table names, they had a photo of them on the other side in a frame
 
 
My table plan

 
The invites, which were a wallet with more rsvp and a poem insert
 
 
My youngest son Andrew who was a usher, great to see him all dressed up and out of golf clothes!!
 
 
My daughter Emma as a bridesmaid
 

The whole gang!
 
 
Lastly, hubby and I


I know I took a photo of the card I made them but I cant find it on the memory card, so have asked James to take a picture for me. Will post it on here later.
 
 
Have a great day


Tuesday, 28 August 2012

Belated Birthday card

It was always going to be a miracle that I remembered everyones birthday with all thats going on at home these past few months and sure as eggs is eggs I forgot an aunts birthday. So last night I made her a belated card thats going off today.

The flower image is from a Simply Poppy brass stencil I picked up at the Stamperama show a few weeks ago. I have a box of brass stencils and it was a "style" I used alot when I was started out cardmaking using a light box. I fell in love with this image though and was even more pleased when I saw the design is from a Lavina stamps...which I also adore!

I found my stash of Dreamweaver paste and some glitter and this was my first attempt. Make sure you tape the stencil to the cardstock, spread the paste with a knife over the image , removing excess, carefully take off the tape and peel away stencil. Sprinkle glitter all over image and leave to dry..does not take long.

 
Papers are from SEI Windsor { very old} and I used a Ek Success corner and ticket punch. The border punch is from Stampin'Up and so is the ribbon. Sentiment is from Woodware and stamped in Memories London Fog. I added a few pearls to finish.


Sunday, 29 July 2012

Moving home cards

Finally I have found some time to sit and have a rest from unpacking boxes!! I have recieved some fabulous cards since moving home and as I dont have any of my cards to show I thought I would give you a look at some of my friends cards.


Hopefully I will be back soon.


Monday, 25 June 2012

quick update

Just thought I would pop on and give you a quick update.  We moved out of our house on 8th June but due to circumstances beyond our control we could not move into our new house straight away so we have ended up in a caravan temporarily. Last thursday my son got married and this thursday I am finally moving into my new house....so I have been a bit busy..lol!  Hopefully in a week or two I will be a bit more organised, but I do have a card to show that I made for Fathers day last Sunday.


All the products are from Kanban, including the shaped easel card. Quick and easy but it needed to be..lol!  I am still holding off from organising any classes at moment, but I am making plans for later in the summer and the autumn.

Back soon


Thursday, 24 May 2012

Congrats

A double celebration today, my parents 60th wedding anniversary and my youngest sons 18th birthday. My parents card is on my SU blog and here is the card I made my golf addict son Andrew.


The golf stamps and the sentiment were from Papertrey Ink, the background argyle stamp was from Crafty Individuals. I used a spellbinders die and the cricut for the shapes and some Prima numbers for the 18. The cardstock is from My Minds Eye...quick and easy card, men/boys are so difficult to make !!

Back soon

Friday, 20 April 2012

On the look out for some ideas for mens/boys cards??


I have been keeping a little secret....a few months ago the staff at In2crafting were asked if we would design some cards for the Creative Stamping magazine. Issue 4 just out, comes with huge sheet of stamps worth £20.00 all suitable for the "men/boys" in your life. Our task was to come up with cards with a thank you/musical/distressed theme. I literally got mine just before I went to the trade show so only had 1 day to complete the card and do instructions before it had to be sent to the publishers. My stamp was the Rock Angel and I had the "Son" stamp as well.

For full instructions and a material list are in the magazine which is available to buy now at the shop. Everything I used can be brought or ordered from us, the others have done fabulous cards as well. Rene used the guitar together with some Justrite stamps, Michelle used Nestabilites and the Thank you wording and my favourite Martha Stewart punch Cherish. Lastly, Sally used the drums and the Fretboard embossing folder from Creative Expressions.


The rest of the magazine is full of ideas and inspiration using the rest of the free stamps, its available to buy in the shop.
I have been busy doing scrapbooking and cardmaking this past week or so as I have had to decamp onto the dining room table....and have no telly!!  I am hoping to schedule some posts for when I loose internet and am at the mercy of the internet providers as to when I will be up and running again....lol!!

I am hoping to finally plan my classes, crops etc next week....just waiting on confirmation on my moving date.

Have a great weekend


Brushed Blooms

I made this card quite a while ago with the stamps and dies from the Stampin Up Brushed Blooms set, that appears in the Jan/June 2021 mini b...