Showing posts with label Distress inks. Show all posts

Saturday, 21 March 2020

Magical Dragon

Happy Saturday, today's card is a cutie one. It's the card I made for my grandson's birthday. I cut the number on my Cricut, several times to layer. The dragon has been coloured in with pencils. I used a cloud die for the background and used Distress ink blended along the die cut and around the edges. I used another cloud die for the little ones around him. I dont have the packaging anymore, but its a blue one so definitely one of the Dutch companies. The sentiment comes with the stamp set.


Products used:

My Favorite Things Magical dragon stamp set
Creative Expressions Stitched Hills and Clouds die set available here 
Cloud dies from stash 
Tumbled Glass Distress Ink
Arteza colouring pencils


Hope you are keeping well, stay safe and lets just get through this together. 


Wednesday, 18 March 2020

Altenew Layered Rose

Hi there, its definitely time to try and stay calm and keep on crafting.  It probably the only thing keeping me sane at the moment. So I am trying to blog more often to give you some card ideas for when you can sit down and have a play.

Today's card was a special one for my mums lady gardener. She obviously loves her flowers especially roses. So I dug this die set out that came with a magazine yonks ago. You can easily adapt it though using some other flower dies or stamps. The background uses the stencil from Altenew which I sponged through randomly with some distress ink. I added some more foliage from a Lady E die I have. The smaller leaves came with the flower die set in the magazine.

The 60 I cut several times to raise up, its much easier than trying to cut tiny foam pads and you can do it in white scraps you have and just do the top one in your chosen card. Its finished off with some Nuvo drops and these are from the new Vintage range and they tie in with the ink I used on the stencil. The sentiment is from a new set from Tailored Expressions , you get a large stamp full of sentiments for different occasions and then a large die that cut them all out in one pass.  So you can just put the others away until you need them. To be honest if you happy to cut the strips and tails yourself you dont need the die .


Products used:

Altenew Layered Rose die set
Altenew Watercolour stripes stencil
Lady E Leaves 6 Herbs
Taylored Expressions Simple Strips Background stamp and die
Tonic Windsor Numbers die
Pumice Stone Distress Ink
Nuvo Vintage Pumice Stone drops available here 
Limetree Adaptables cardstock
Coloured card from stash 

This is another tent fold card and measures 7x5. Stay safe back soon with more ideas.


Monday, 23 December 2019

Happy Christmas Eve Eve

Another super cute card today , again using Elizabeth Craft designs dies. Its a stand-up box style card, which folds flat. I die cut all the elements in White cardstock and then coloured with Distress inks. The night sky background was done with Distress Oxide inks and I splatted it with some diluted White acrylic paint. The snow effect at bottom is just some torn card with a little ink blended across the edges. Its finished off with some the same die as I used in yesterdays card and a few stars from a sequin pack I had in my stash.


Products used:

Elizabeth Craft Designs Santa Claus
Elizabeth Craft Designs Sleigh
Distress Inks/Oxides
Creative Expressions Stacked Merry Christmas die
Stars from stash
White acrylic paint

I hope all your Christmas preparations are going well, just got to collect turkey today and I'm done! Be back tomorrow with a table gift box.


Tuesday, 5 November 2019

Leaves and Berries stencil

I have been playing around with different techniques using stencils. I fell in love with this one from Pretty Pink Posh. The technique I used on this card is not quick but is worth the time spent. I worked my way across the stencil applying Distress Inks through the stencil, masking off areas as I went with post it notes. So for example when I was inking through the leaf part, I covered the surrounding berries so the colours did not blend together. I wanted to keep it simple, so I just cut the finished piece down to fit a large square card . I have noticed a new trend of stamping a sentiment onto vellum and the creating a frame around it. This way you can still see the stencil behind, through the vellum.I dug out a nesting labels die and I made a frame. To co-ordinate I inked it with same colour ink I used on berries. I added Wink of Stella to berries for a touch of sparkle.


Products used:

Pretty Pink Posh : Leaves and Berries Stencil
Distress ink : Evergreen Bough and Festive Berries
Woodware: Christmas Cheer stamp
Stazon Ink
Wink Of Stella Clear pen
Vellum and Nesting dies from stash


Sunday, 8 September 2019

Foamiran Flowers

Happy Sunday to you all. So I have a few cards I can post now as the recipients have had their birthdays and I wont spoil the surprise. Today's card uses Foamiran to create the flowers, if you are not sure what that is, its very thin foam. It can be die cut, coloured and manipulated into making realistic flowers. This foam started off white and I coloured it with Distress Inks. I used Green foam for the leaves. I used my little iron to help shape the leaves and petals, there are other versions of this foam out there where the heat of your hands are enough. Its a large card and its very dimensional so I made box for it to go in as an envelope was not deep enough. I knew it wasn't being posted so that helped.


Products used:

White and Green Foamiran
Annamarie Paper Pad Peach Collection
Crafters Companion Peony Collection dies
Lady E designs Leaves 6 Herbs
Sue Wilson sentiment die 
Distress Inks: Spiced Marmalade,Dried Marigold and Frayed Burlap
Cardstock from stash for sentiment
Stamens from stash

Enjoy whats left of your weekend and I will be back soon with more cards.


Thursday, 8 August 2019

My Favorite Things Stitched Blooms

I have a few birthdays coming up, so I have been playing with a die set I brought recently. I decide to cut all the elements in white card and then coloured them with Distress Inks. The background is a stencil and I inked again with Distress inks. The card base itself has been created using circle dies, top tip cut a slither off the back circle and it will stand up better.


Products used:

My Favorite Things Stitch Blooms
Honey Bee Radiant stencil
Simon Says Stamps Happy sentiment set
Distress Inks: Twisted Citron, Shaded Lilac, Dried Marigold, Worn Lipstick and Squeezed Lemonade
Gems: from stash


Friday, 5 April 2019

Wild Roses

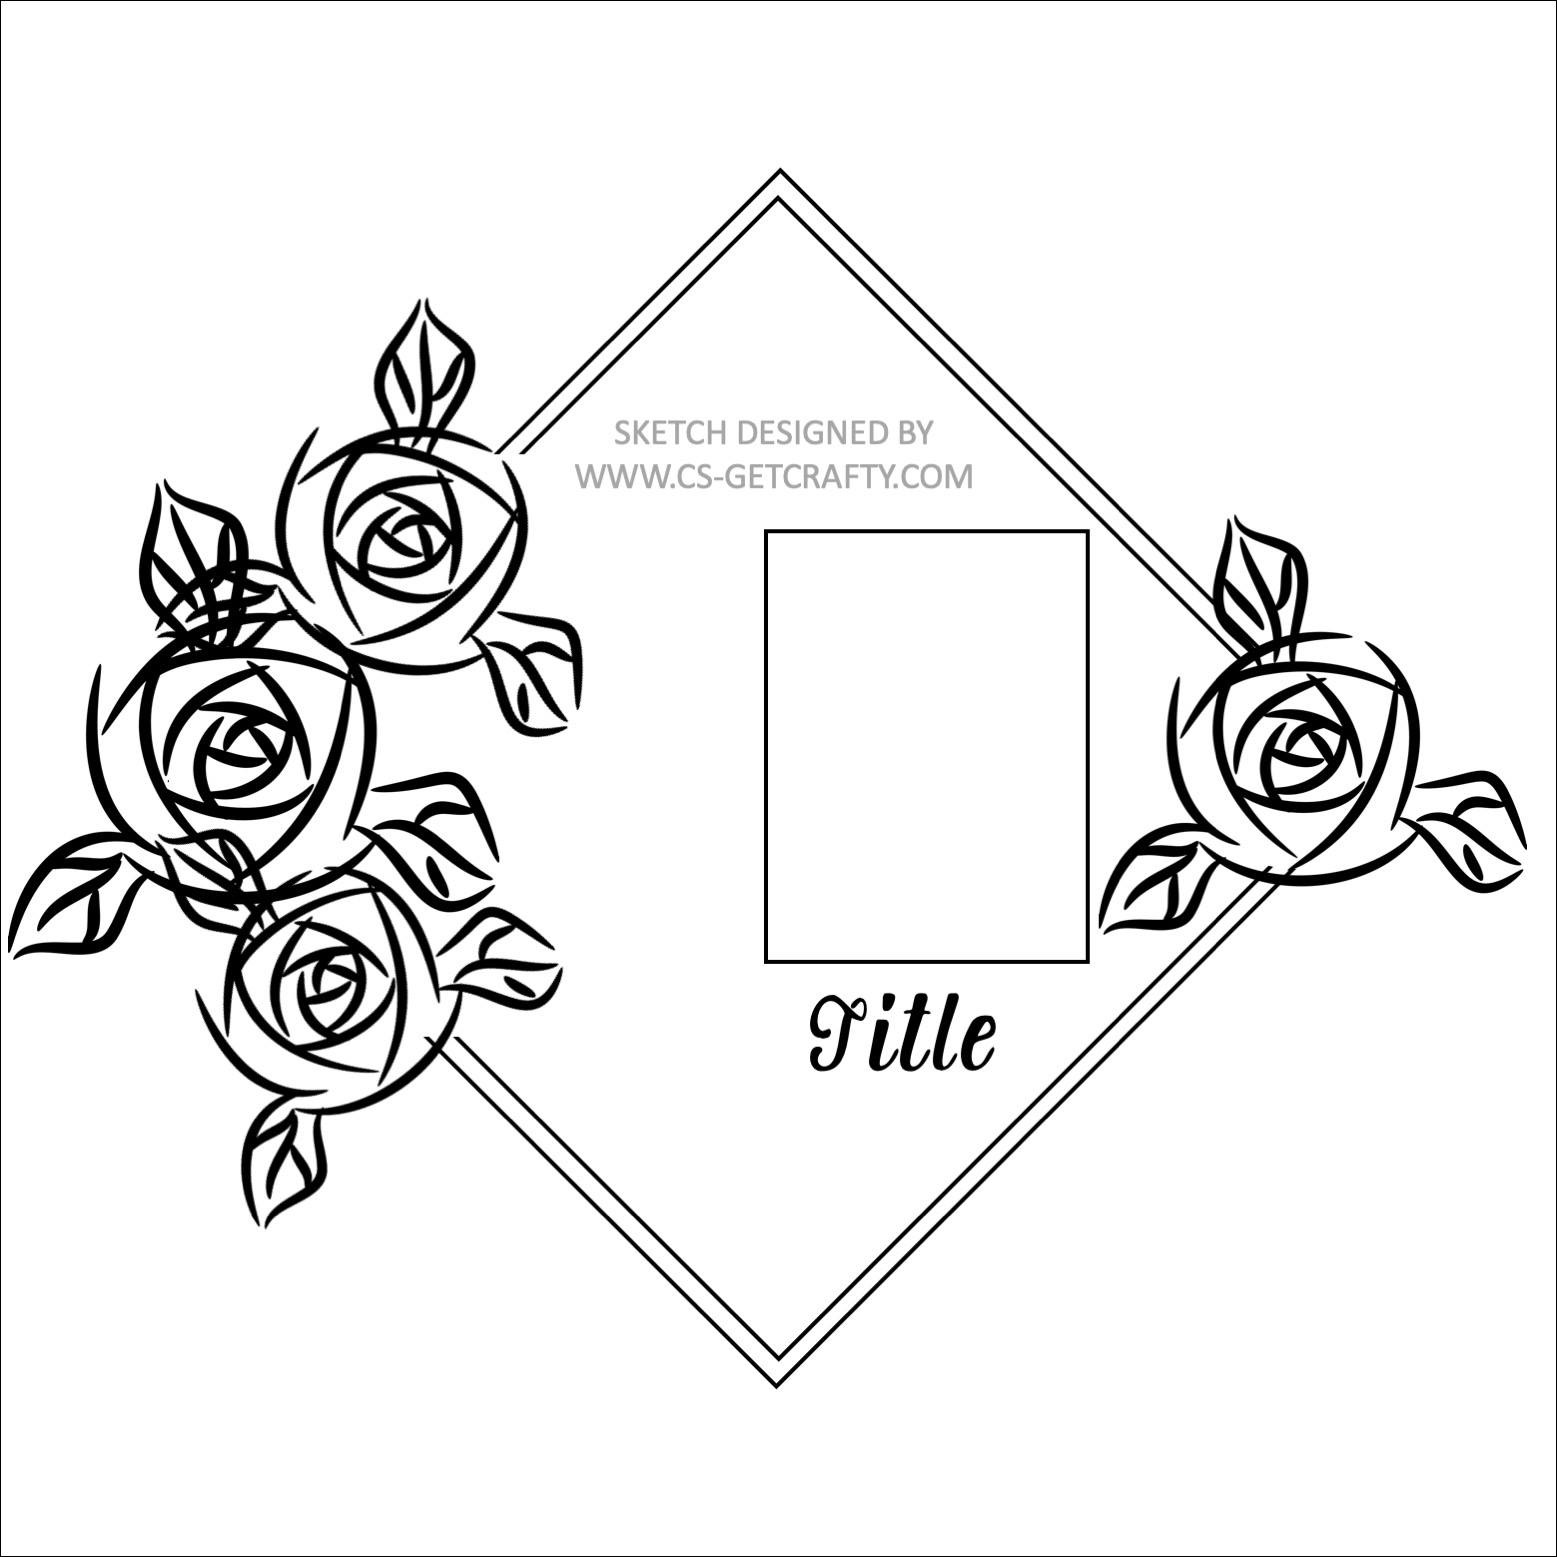
I decided to take part in a sketch challenge last night and this is my entry, you could do a scrapbook page or a card. I used Pretty Pink Posh Wild Roses stamp set. I love this set and its great for all sorts of colouring. This time I used a dauber and gently blended some Distress Ink in Picked Raspberry on the flowers and Twisted Citron on the leaves. The sentiment is from Clearly Besotted and is from the Say It In Style set. The square die is from Presscut. I finished off with some Kaisercraft Pink gems.


I'm having a day out tomorrow at Ally Pally. I have a little list , lets see what I come home with that's not on it lol !! 

Have a great weekend.


Monday, 27 January 2014

Craft Club card

On todays craft club card we used a lovely stamp from Inkylicious. I used a mask for the background and lots of distress ink and some wax to finish off. We have some lovely metal embellishments in the shop and I fixed that with a brad to finish with some cord. I dripped some water onto the bird panel which creates a lovely effect with distress ink.

 
Products used:
 
Stamps: Inkylicious Vintage Birds and birthday sentiments
Papers: Teresa Collins 8x8 pad from Creative Expressions
Ink: Distress Ink Old Paper, Dried Marigold, Tea Dye, Vintage Photo, Black Soot, Black Versafine
Extras: Metal embellishment/brad, Cord, Cosmic Shimmer gilding wax bronze.
 
Everything can be brought from Forget Me Knot


Sunday, 2 June 2013

Distress Class at Forget me Knot

This week I had a lovely distress class, using the Tim Holtz ink pads and pens. The first card we made uses some of the fabulous stamps from Indigo Blu. I showed the ladies how to colour seam binding using the ink pads. The frame was stamped twice and one cut out and attached with foam pads onto the background. The flowers were stamped and coloured using the foam applicators and a pen was used to colour the centres. The leaves were stamped using the pens....a great idea if you have a colour in a pen but not the same colour in the pad.

 
products used:
 
Stamps: Indigo Blu Blooming Great
Card: Distress Co-ordination Crushed Olive, Brown card, white smooth
Distress Inks: Dried Marigold and Shaded Lilac
Pens: Crushed Olive and Mustard Seed
Ribbon: Seam Binding
 
Next card was made using a super stamp from Justrite, great for mens cards and with fathers day just around the corner ideal. I stamped the image twice and from one piece cut out elements to colour and attach back on foam pads. The sentiment is also from Justrite but could easily say Happy Birthday. This is a huge red rubber stamp and I can see lots of ideas to play with over the coming months, its stamps beautifully...as do all Justrite stamps whether they are rubber or poly.

 
products used:
 
Stamps: Justrite London background, Justrite All in the Family sentiments
Inks: Distress Antique Linen, Brushed Corduroy, Vintage Photo, Black Soot
Tumbled Glass, Fired Brick,
Embellishments: Bakers twine
 
All stamps and inks can be brought or ordered from the shop


Brushed Blooms

I made this card quite a while ago with the stamps and dies from the Stampin Up Brushed Blooms set, that appears in the Jan/June 2021 mini b...