Showing posts with label stampin Up 2020. Show all posts

Sunday, 6 December 2020

Tidings of Comfort and Joy

 Another card today using just the papers and a die from the Stampin Up Trimming The Town papers. Very simple and also flat, so great for posting. I love the colour combo in these papers, finished off with some glitter. The die set does cut out the houses and the trees but they are simply enough if you dont have them. 


Products used:

Trimming The Town designer series papers

Home Together die set 

Glitter from stash 


Saturday, 5 December 2020

Trimming the town

 Today I have a quick and easy card using the Trimming The Town designer series papers from Stampin'Up. There is a coordinating die set that has the snow border dies in it and I used those with some of the houses, cut out from one of the papers. The sentiment also from one of the papers. I finished off with some glitter. 


Products used:

Stampin Up Trimming The Town designer series papers

Home Together die set

Glitter from stash

Wednesday, 30 September 2020

Last card using Poinsettia Place

 Last card in my little mini series using these lovely papers. I sat and fussy cut some of the Poinsettia clusters and pine cones and arranged them going across the card at a angle. Simple layering and a sentiment which I should have done in a darker ink to stand out more , but in real life you can see it.


Products used:

Poinsettia Place designer series papers
Poinsettia Petal stamp set ( sentiment)
Soft Suede cardstock

Products used can be brought here 

I have a kit available for this card and the five others I have posted about this week.If you would like details email me on jackiedasilva07@gmail.com .


Tuesday, 29 September 2020

May the magic and wonder bloom this holiday

 A 3d card today, something a little different. It looks like a bay window but folds flat for posting. Again I used the Poinsettia papers from Stampin Up, some holly and twig die cuts and some more of the papers in the pack. The sentiment comes from the Poinsettia Petals stamp set. If you would like the instructions and everything you need to complete this and five others ,I have a kit for sale £15.00 plus £1.50 postage. You can contact me on jackiedasilva07@gmail.com.


Products used:

Poinsettia Place designer series papers
Garden Green and Soft Suede cardstock
Poinsettia Petals Bundle 
Circle punch
Soft Suede Ink


Monday, 28 September 2020

Pointsettia card

 This is the third card I have using the Stampin Up Poinsettia Place designer series papers. Simple card today using one of the Poinsettias cut from the one of the papers, a few holly leaves in Garden Green and some twig die cuts in Soft Suede. I fussy cut some small pine cones to add under flower. Love this bark effect paper in the background.  I stamped a simple sentiment and it's done.


Products used:

Poinsettia Place designer series papers

Poinsettia Dies

Garden Green/Whisper White cardstock

Itty Bitty Christmas stamp set ( sentiment)


Instructions and everything you need to make this card and five others are available in a kit for £15.00 plus postage £1.50. Email me on jackiedasilva07@gmail.com and I will send you one out .


Sunday, 27 September 2020

Diorama Card

 Good morning, its feeling very autumnal now , I hope you have some time to craft today. My card today is a version of a diorama card and uses the Poinsettia Place designer series papers. I used Whisper White for the card base and some of the other papers in the pack for the back and side panels. I added some holly leaves in Soft Suede and added a sentiment in the same ink. I love the colour combo in this collection. Instructions and everything you need to complete this card and five others are in a kit I have for sale at £15.00 plus £1.50 postage if you can't collect. If you are interested drop me an email to jackiedasilva07@gmail.com.  


Products used:

Poinsettia Place Designer Series Papers
Poinsettia Dies
Soft Suede Ink and cardstock
Whisper White cardstock
Square die from stash


Saturday, 26 September 2020

Celebrate the Season

 Today's card uses the Poinsettia Place designer series papers again. This time I cut one of the larger and two of the smaller flowers and I changed the holly leaves to soft suede colour. A few twig die cuts in gold foil card and I added another paper from the collection,  that I had cut with the stitched rectangle dies, adhered on a slant for a change. Finished off with a sentiment and it's done. 


Products used:

Poinsettia Place Designer Series papers 
Poinsettia dies
Itty Bitty Christmas stamp set ( sentiment)
Soft Suede/Whisper White card
Soft Suede Ink
Stitched Rectangle dies 

Everything you need to make this card and five others is in a kit, available for £15.00 plus £1.50 postage. Let me know by email jackiedasilva07@gmail.com if you would like one.


Wednesday, 23 September 2020

Wonder of the Season final card

 So today is the last card in the series, using the Wonder of the Season kit. I was only using half the kit so you can easily make more of the same cards. This is a 7x5 card blank and uses a 6x4 for the red mat, the negative piece from the bauble card and then a mat of white and 2 3x4 cards. There is a gap in the middle which I covered with some of the ribbon. The large holly was cut out from a 3x4 card again and I used some stickers to finish.


Products used:

Wonder of the Season Memories and More kit

Ribbon combo from the same suite


Everything I have used can be purchased here

I did the kit as a class in the post, I have one left it is £20.00 plus postage £3.00(unless you can collect)

You get instructions emailed to you .

Back tomorrow with some more Christmas card ideas

Stay Safe


Tuesday, 22 September 2020

Wonder of the Season card no. 11

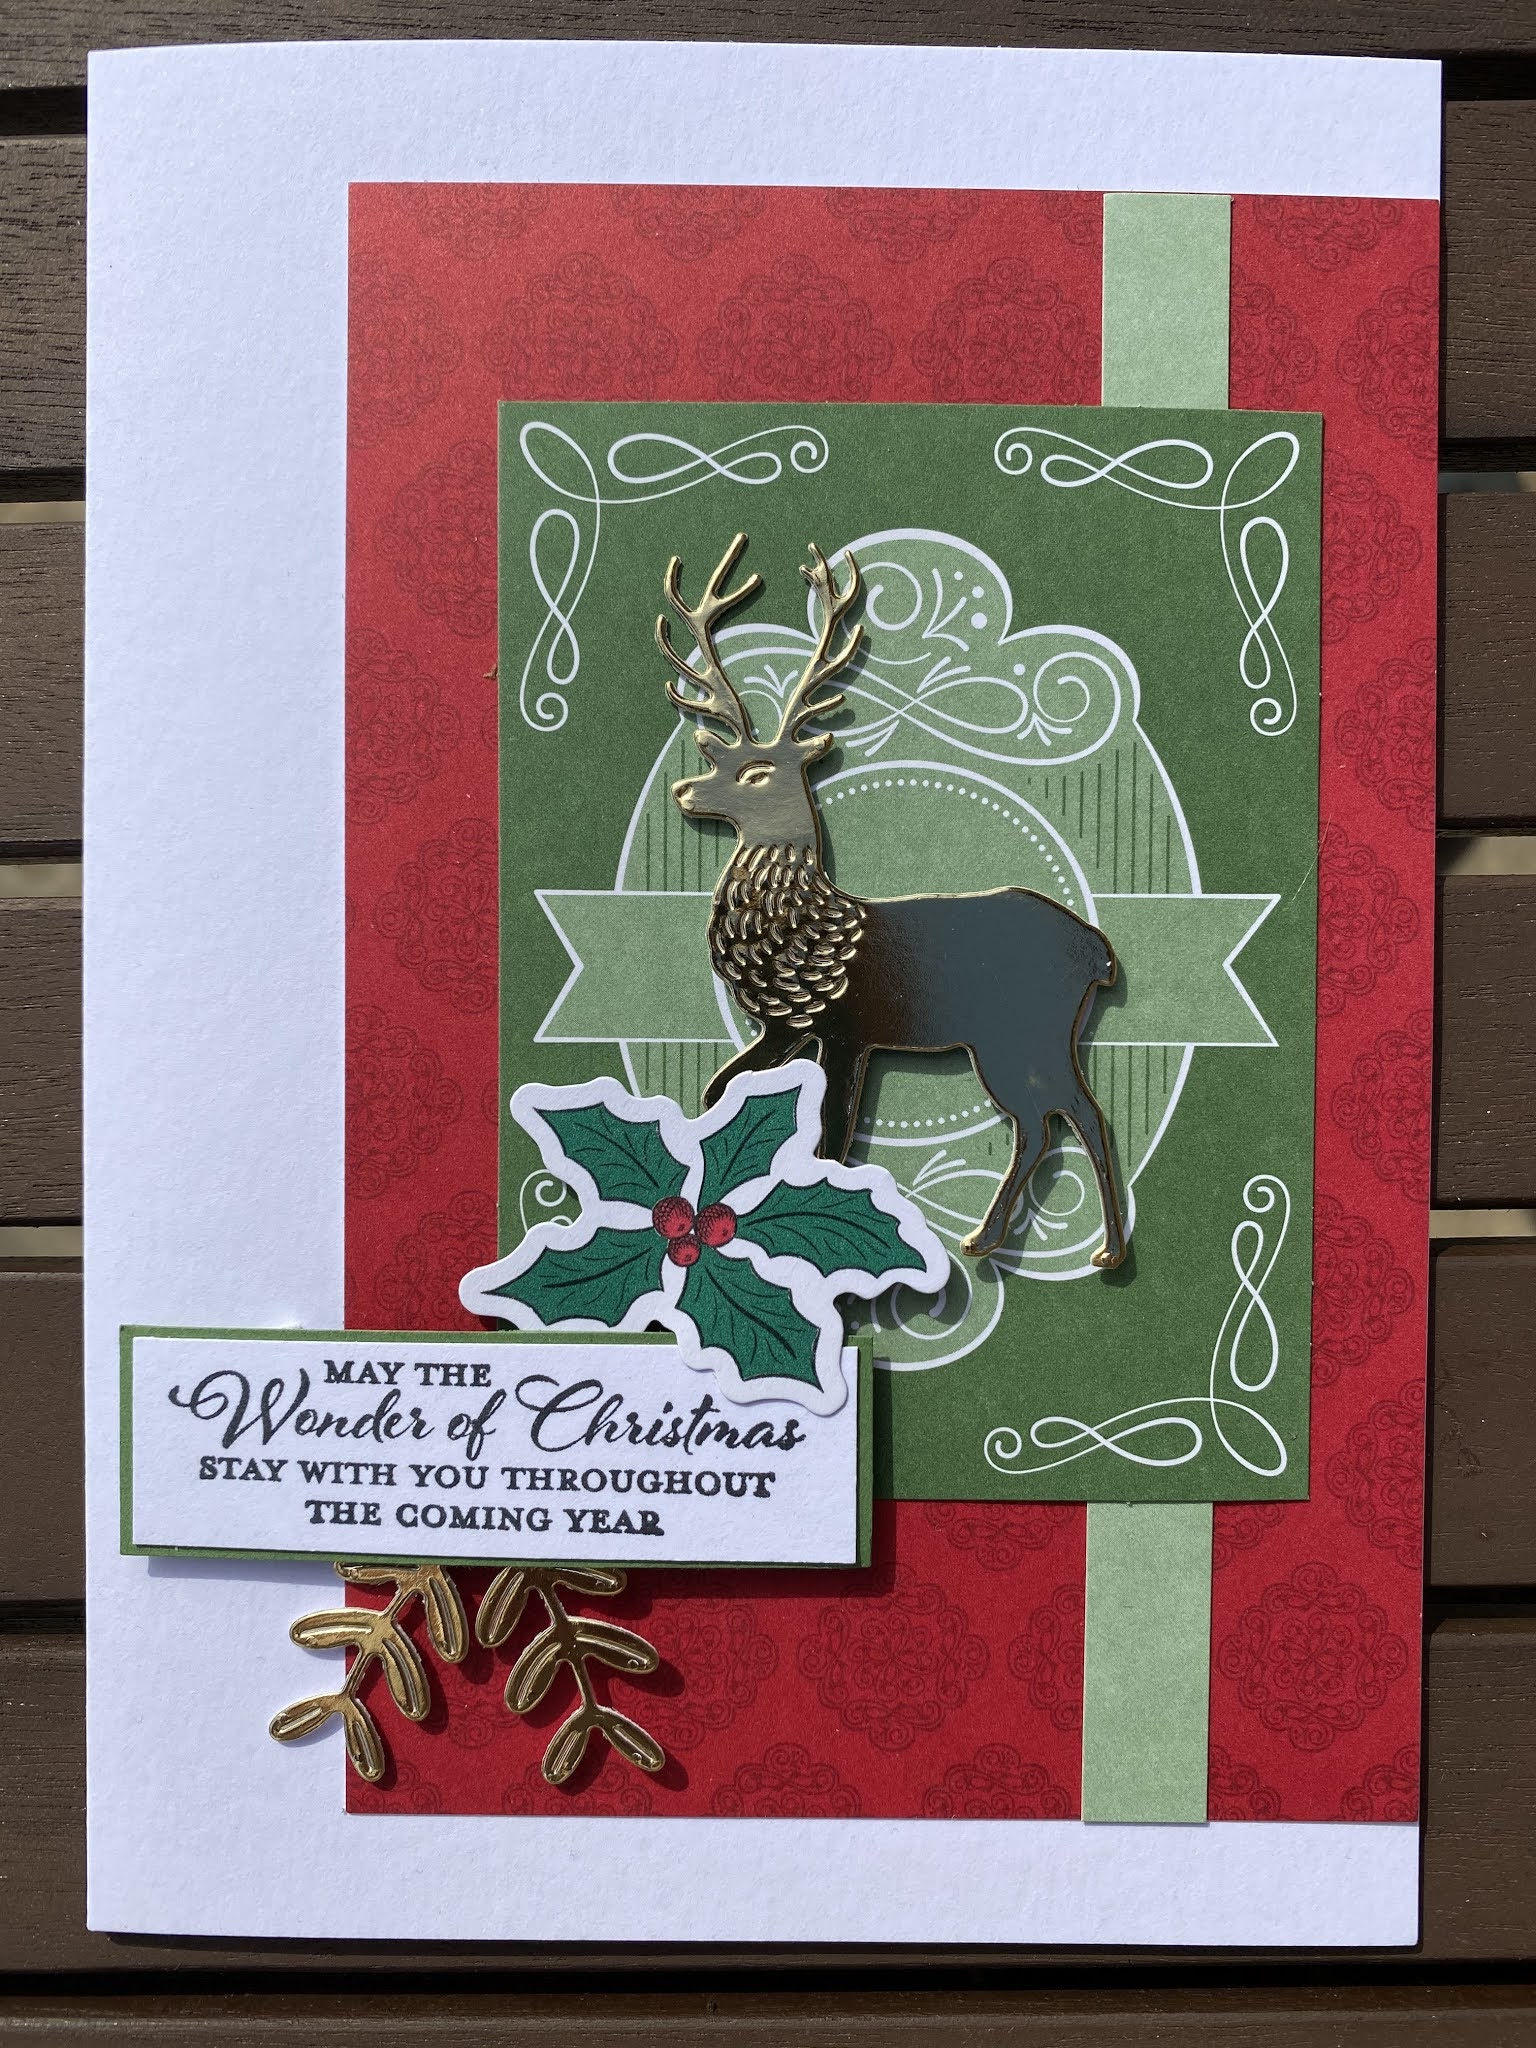
 Down to the last two cards and this one uses a 6x4 card from the kit and the Believe 3x4 card. I die cut the embossed reindeer in gold and laid some stamped and die cut mistletoe around his feet. The "Wishing you ..." was a 3x4 card but I cut it out and added some holly and attached with foam pads.Its a standard c6 card size.


Products used:

Wonder of the Season Memories and More kit
North Pole Wonder die set
Wishes and Wonder stamp set
Gold Mirror card
Garden Green Ink

Last card tomorrow, have a great day.


Monday, 21 September 2020

Wonder of the Season card no. 10

 Almost there with my series of card using the Wonder of the Season kit. Today's card uses a small 5" card blank and two of the 3x4 cards. The mistletoe one has been cut to add to each side. The bells are from the sticker sheet and gold circle has been cut using a die from the North Pole Wonder set. I cut out some more holly leaves from one of the 6x4 cards and I used a gold gel pen to draw lines. The sentiment is also a sticker. 


Products used:

Wonder of the Season Memories and More kit
North Pole Wonders die set
Gold gel pen 
Gold mirror card

Back tomorrow with card no 11


Sunday, 20 September 2020

Wonder of the Season card no 9

 Slightly smaller card today in the Wonder of the Season Memories and More kit series. This uses a 5x5 card blank and I cut out a lot of the hollys from one of the 6x4 cards to make a wreath. I arranged them on one of the 3x4 cards. The centre sentiment comes on the sticker sheet. If I hadn't been working in such a mess, I would have seen there was a red one as well, which probably would have been better. I used a strip off one the foiled 6x4 cards to make a strip down the side and wrapped some of the green ribbon around. This panel with then matted on garden green cardstock. 


Products used:

Wonder of the Season Memories and More kit

Green ribbon from the combo pack

Garden Green card


Saturday, 19 September 2020

Wonder of the Season card no. 8


The 8th card in this series uses one 6x4 card and this technique is great for getting a 3d image from just one piece of card. The one thing it does need is a lot of foam pads or tape. I took 3 different sizes of rectangle dies, mine are the stitched rectangles set. They dont have to be though, plain rectangles work just as well. Lay the dies out with even gaps between them and when you happy run them through your machine. I do it one at a time incase they slip, so make sure you use tape to secure in place. I cut some strips off one of the foiled 6x4 card to go across the corners and cut off the excess. Then glue down the original piece of the 6x4 card flat onto the card base. The next layer you need cover with foam pads, dont use very thick ones like 3mm, I tend to use 1mm. Place them around the frame and after removing the backs, add a dab of glue. This will give you  a little wiggle time to get the frame in exactly the right place, lined up with the design already down on the card. Repeat for the second frame but this time you are going to use two layers of foam pads, one on top of the other so it raises the frame up again . Take care to match designs exactly. You are then left with the rectangle die cut as the centre, this time you add 3 layers of foam pads and attach again matching design. I added some gold twine to make a bow in the corner. 


Products used:

Wonder of the Season Memories and More kit
Gold Twine
Foam pads

Back tomorrow with card no. 9 only a few to go now 


Thursday, 17 September 2020

Wonder of the Season card no. 6

 Another card today using the Memories and More kit. The tag and leaves from the North Pole Wonder die set which is part of the Wonder of the Season suite. I added two of the Mistletoe stickers from the kit. I embossed the background using one of the new slim embossing folders Greenery. It has been matted on some Garden Green card and finished with some gold twine. Sentiment is from the Itty Bitty Christmas stamp set. 


Products used:

Wonder of the Season Memories and More kit

Itty Bitty Christmas 150513 page 62 of main book

North Pole Wonders die set 

White and Garden Green cardstock

Black Ink

Gold twine

Back tomorrow with card no. 7


Wednesday, 16 September 2020

Wonder of the Season card no. 5

 Fifth out of twelve cards today using the Memories and More pack Wonder of the Season. This card uses one of the 6x4 cards, one of the 3x4 cards and a holly from the sticker sheet. I die cut the reindeer and the leaves using the dies from the North Pole Wonders set in gold mirror card. The sentiment is from the Wishes and More stamp set.  It's a 7x5 card blank. 


Products used :

North Pole Wonders die set

Wishes and More stamp set

Wonder of the Season Memories and More kit 

Gold Mirror and Garden Green cardstock


Products can be purchased here 


Tuesday, 15 September 2020

Wonder of the Season card no.4

 Happy Tuesday and it's a lovely hot day again. Today's card is no. 4 in the Wonder of the Season Memories and More series. This card uses 3 of the 6x4 cards, the red frame on is one card and I used two of the bells cards. One I keep whole and glued to red card, the other I cut out the bells and made them into a 3d image with foam pads. I cut them out keeping the outside edge of this card whole, so I could use it for matting on another card coming up. Finished off with a simple sentiment which comes in the Wishes and More stamp set. You could also add glitter for a little christmas twinkle and its on a 7x5 card blank with fold at top. 


Products used:

Wonder of the Season Memories and More kit
Wishes and More stamp set
Black Ink
Foam Pads

products can be purchased here 

Back tomorrow with card no. 5 


Sunday, 13 September 2020

Wonder of the Season card no. 2

 Today's card is the second in my series of posts using the Wonder of the Season card pack from Stampin'Up. This uses another of the card of the foiled card bases. I used two of the 3x4 cards and cut the sign from one of them. The sleigh is a stamp and die from the Wishes and Wonder stamp set and there is a die that coordinates. The reindeer is also a stamp and die and is different to the one I used in yesterday's card. The sleigh was coloured in with an alcohol pen. The little holly spray came off a 6x4 card in the pack.


Products used:

Wonder of the Season Memories and More pack
Wishes and Wonder stamp and die set
Soft Suede ink and cardstock
Memento Ink
Alcohol Pens in red 

Items used can be brought here 

Have a great Sunday and I will be back tomorrow with card no. 3


Saturday, 12 September 2020

Wonder of the Season Memories Pack

 Happy Saturday, hope everyone is staying safe and well. I am starting a series of posts today using the Memories and More card pack from Stampin'Up. This is a set of double sided cards in both 6x4 and 3x4 inches. Some of the 6x4 cards having foiling and the kit includes sticker sheets and some of those are foiled as well. In total there are 48 cards and 8 sticker sheets. The idea being you use them for pocket scrapbooking but they also work well on cards. They form part of the suite of Wonder of the Season which includes, stamps, dies, 6x6 papers, 12x12 papers, ribbon, gems and Red Foiled envelopes. The whole suite can be viewed here or on page 31 of the autumn/winter catalogue.


All the cards I made are quick and simple and I will list on each post what additional elements I am using from the suite. So today's card uses one of the red foiled card blanks. These come in a set of 20 cards and envelopes. They have a lovely foiled frame and the 3x4 card sit perfectly inside. The envelope flaps are also foiled .


Products used:

Wishes and Wonder stamp and die set bundle
Wonder of the Season Memories and More cards and envelopes
Soft Suede,Shaded Spruce, White cardstock
Winter Woods stamp set ( tree)
Shaded Spruce, Soft Suede ink
Gold Twine from Ribbon pack 

Products can be brought here 

The tag has been stamped with a tree from a kit in the main catalogue, called Winter Woods. The tag , mistletoe, reindeer and sentiment are all in the Wishes and Wonder stamp and die set. You also get a tiny berry die, that I cut with just white card. You could use gems or pearls instead. The tag is raised on foam pads but you could just as easily glue it flat.  

Have a great weekend, looks like weather is going to be lovely. I will be back tomorrow with card no.2 


Saturday, 15 August 2020

Poinsettia Petals

 Happy Saturday, its cooler today thank goodness. If you are like me you have probably been too hot to craft this week, especially if you live in the south east. 


My card today uses one of the new sets from the Stampin'Up August/December mini catalogue and its called Poinsettia Petals. This set has coordinating stamps and dies, but included in the dies are ones that emboss the veins and its those I have used on my card ( see pic below for closer look )  I used real red cardstock, cut the die outline first, then run it through again with the embossing plate. You could do it all in one run through but be careful the dies dont slip, so you would be best to tape down. I did blend a little real red ink on edges afterwards. You get the same dies and plates for the holly leaves and again I inked the edges , which I did on garden green card. I added some of the berry sprays in the gold metallic card. The centre was done it some crushed curry card and I inked edges. 


I was going for a more rustic look for a change, so my card base is made from crumb cake card, top folding. For the background I used the large birch stamp, inked with crumb cake on very vanilla card. When I inked it up I covered one side with ink but only partially the other side. You can do this with a sponge or dauber if you prefer. I like the look of the uneven edge. The papers of from the Poinsettia Place pack and I finished off with a sentiment from Itty Bitty Christmas set on crumb cake card again.

I hope you get time to craft this weekend, everything I have used is available to purchase here 


Tuesday, 11 August 2020

Forever Fern

Today my card uses the Forever Fern stamps and dies from Stampin'Up, with some scraps of the coordinating papers. I used one of the new slim embossing folders and I blended some of the Soft Seafoam ink in the background. Would make a great man's card. 


Products used can be seen and brought here 


Friday, 31 July 2020

Peony Garden

Today's card uses the same stamp set as my last post called Prized Peony. This time I used the other flower stamp. You can easily colour this flower stamp in watercolour pencils or blend pens but I also think it looks just as good just stamped. The flower and leaves/stem are all one stamp and the die cut the whole image out. I wanted to have a 3d effect, so I stamped once in Old Olive and then again on another piece of Whisper White card in Petal Pink.  I fussy cut the two flowers out pink version and attached back on other image with foam pads. I added more foam pads to back of whole piece ready to adhere to card. The background is the stitched rectangle dies and I blended some Petal Pink ink using a brush. I then stamped with Gray Granite ink some of the little stamp images from the set. The sentiment is stamped in Basic Gray. I finished off with some of the lovely papers from the coordinating DSP pack and I used some Petal Pink card to die cut the scalloped border that comes in the die collection.


Products can be purchased here 

and if you put this code in the hostess box I will send you something for having to pay postage 

ZKR7PFQB


Brushed Blooms

I made this card quite a while ago with the stamps and dies from the Stampin Up Brushed Blooms set, that appears in the Jan/June 2021 mini b...